In this guide
- Start with a reference set, not one perfect picture
- Read the color in four zones
- Add what the photograph cannot tell the supplier
- A custom wig color brief you can copy
- A screen is not a hair color standard
- Move from brief to paid sample
- Keep an approval record that can survive a reorder
- Frequently asked buyer questions
- Send a brief the team can review
- Sources reviewed for this guide
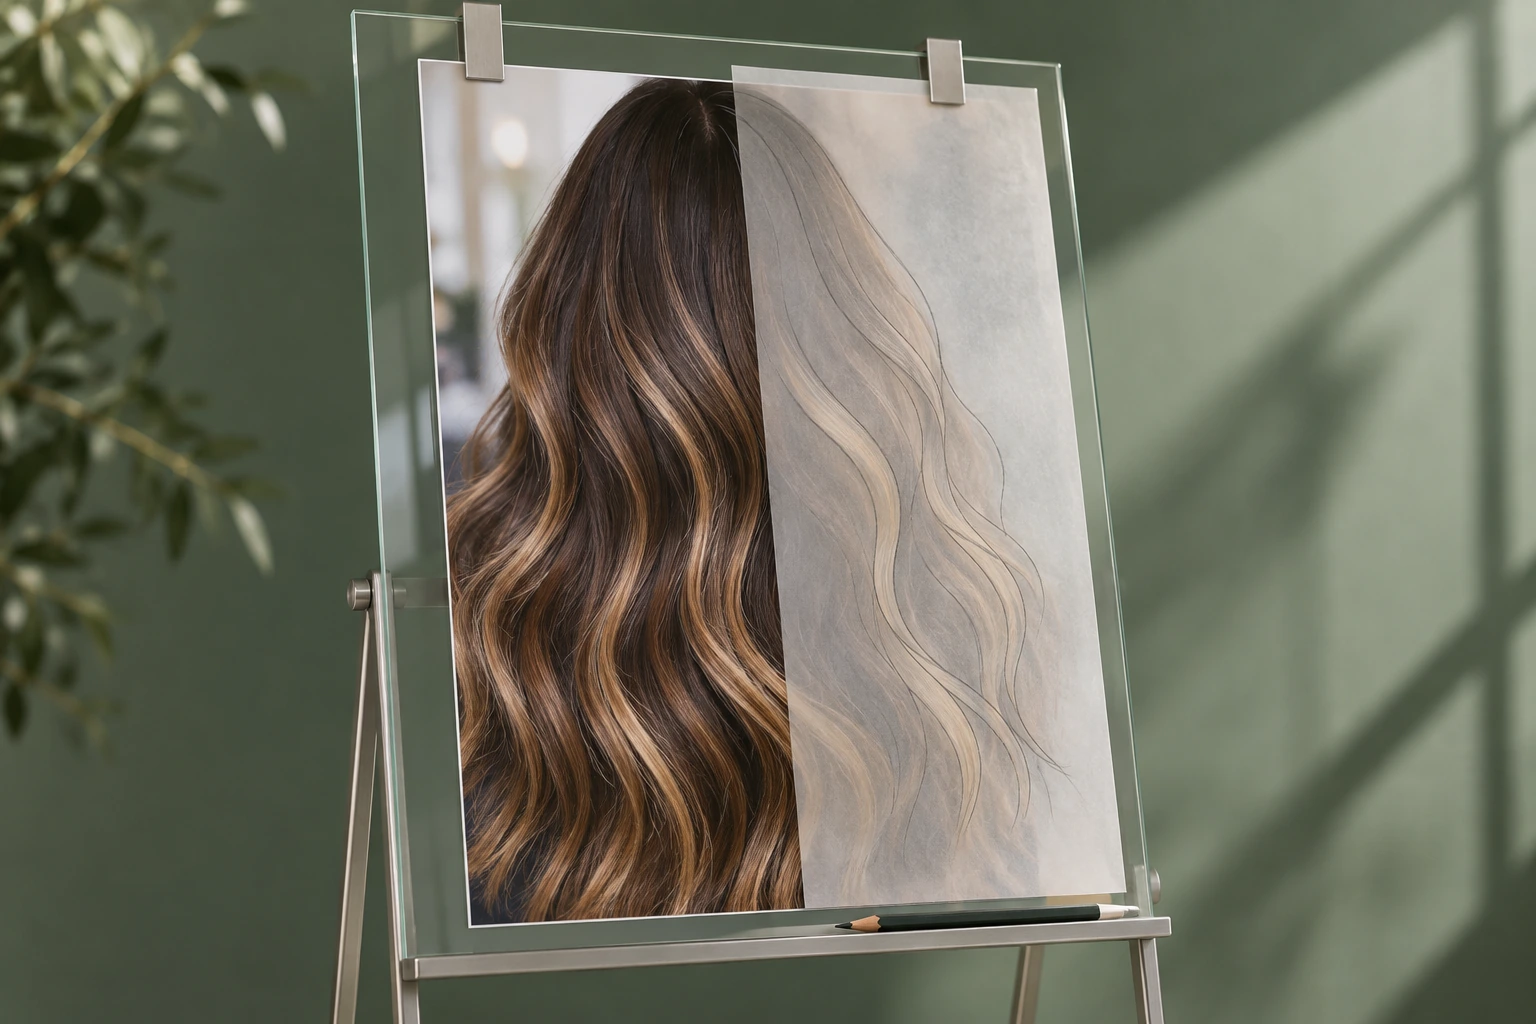
A reference photo is useful to a wig supplier only after the visible color has been broken into decisions: root, face frame, placement through the mid-lengths, and ends. The same brief also needs the unit specifications that a photograph cannot show. Until those details are written down, two people can look at the same image and approve two different wigs.
This guide is for salon owners, wig retailers, wholesalers and private-label buyers preparing a custom color request. It gives you a practical way to move from “something like this” to a brief that can be quoted, sampled and checked.
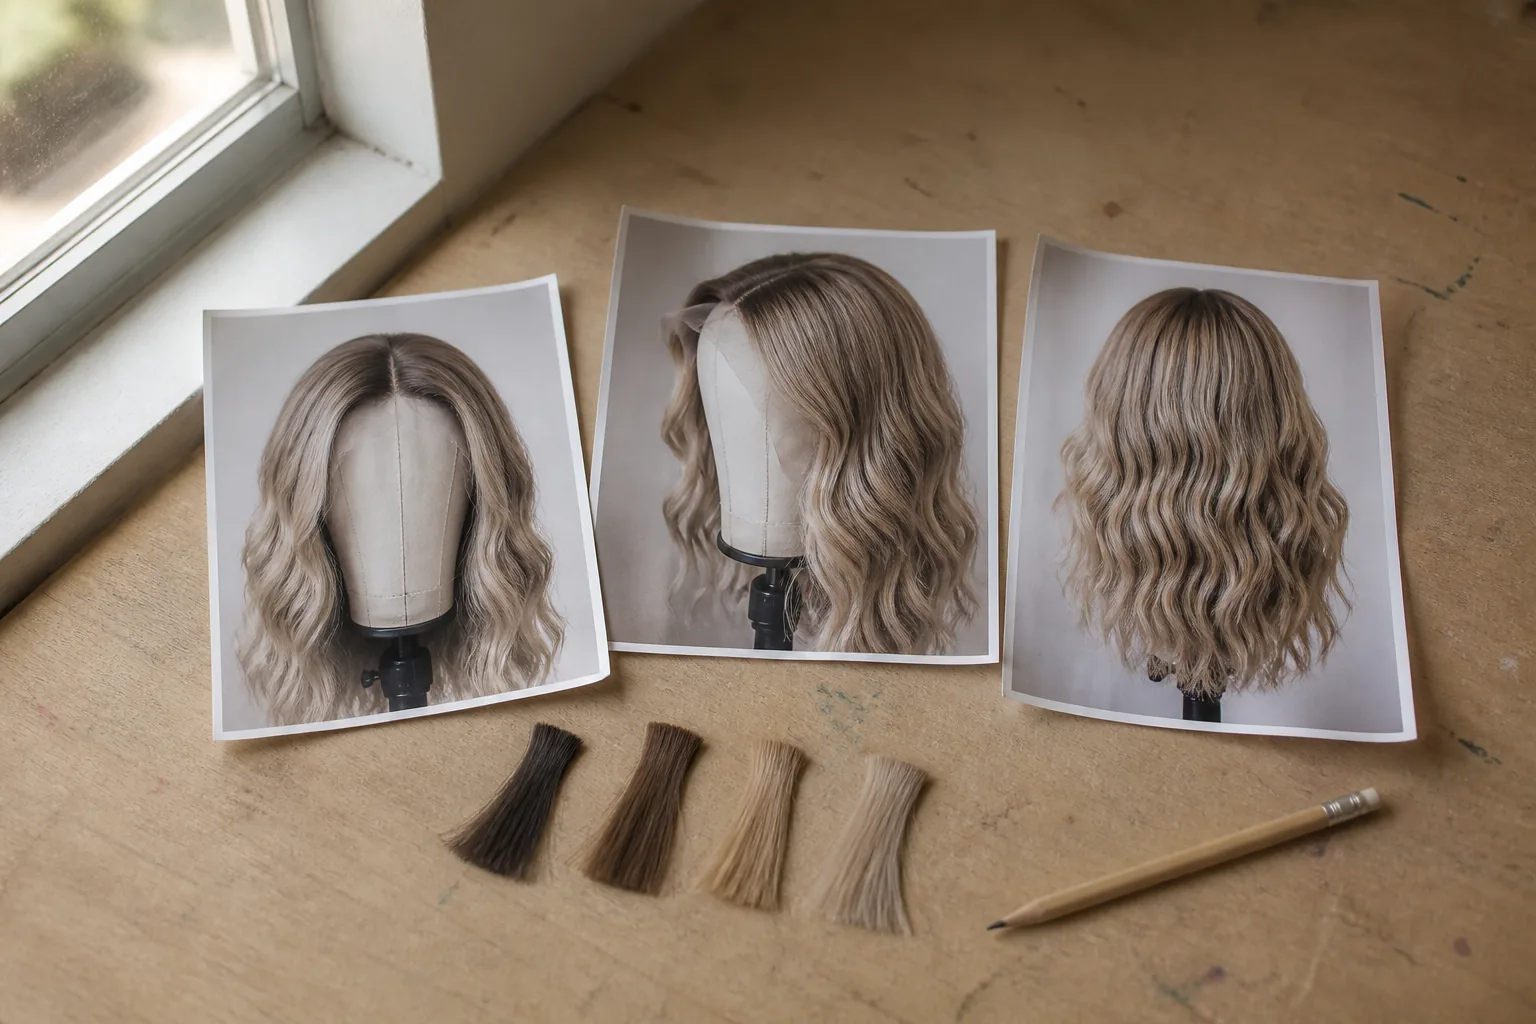
Start with a reference set, not one perfect picture
One social-media screenshot rarely tells the whole story. A front view may show a bright money piece while hiding a darker back. Loose waves can make separate blonde ribbons look more blended than they are. Exposure can lift the root and wash warmth out of the ends.
Send three or four views when they are available:
- front, for the hairline, parting and face frame;
- side, for the starting height and spacing of lighter pieces;
- back, for overall contrast and the distribution of darker depth;
- top or parting, for root depth and the first color transition.
Take or save the clearest version of each image. Use daylight and a neutral background where possible, and avoid flash and beauty filters. Include views of the roots and mid-lengths as well as the full style. These choices do not make a photograph color-calibrated; keep the lighting and camera setup consistent across the reference set.
Label the job of each reference. For example: “Photo A for the root,” “Photo B for the front placement,” and “Photo C for the end tone.” If a picture is only a styling reference, say that too. Otherwise curls, length or density may be mistaken for part of the color request.
Read the color in four zones
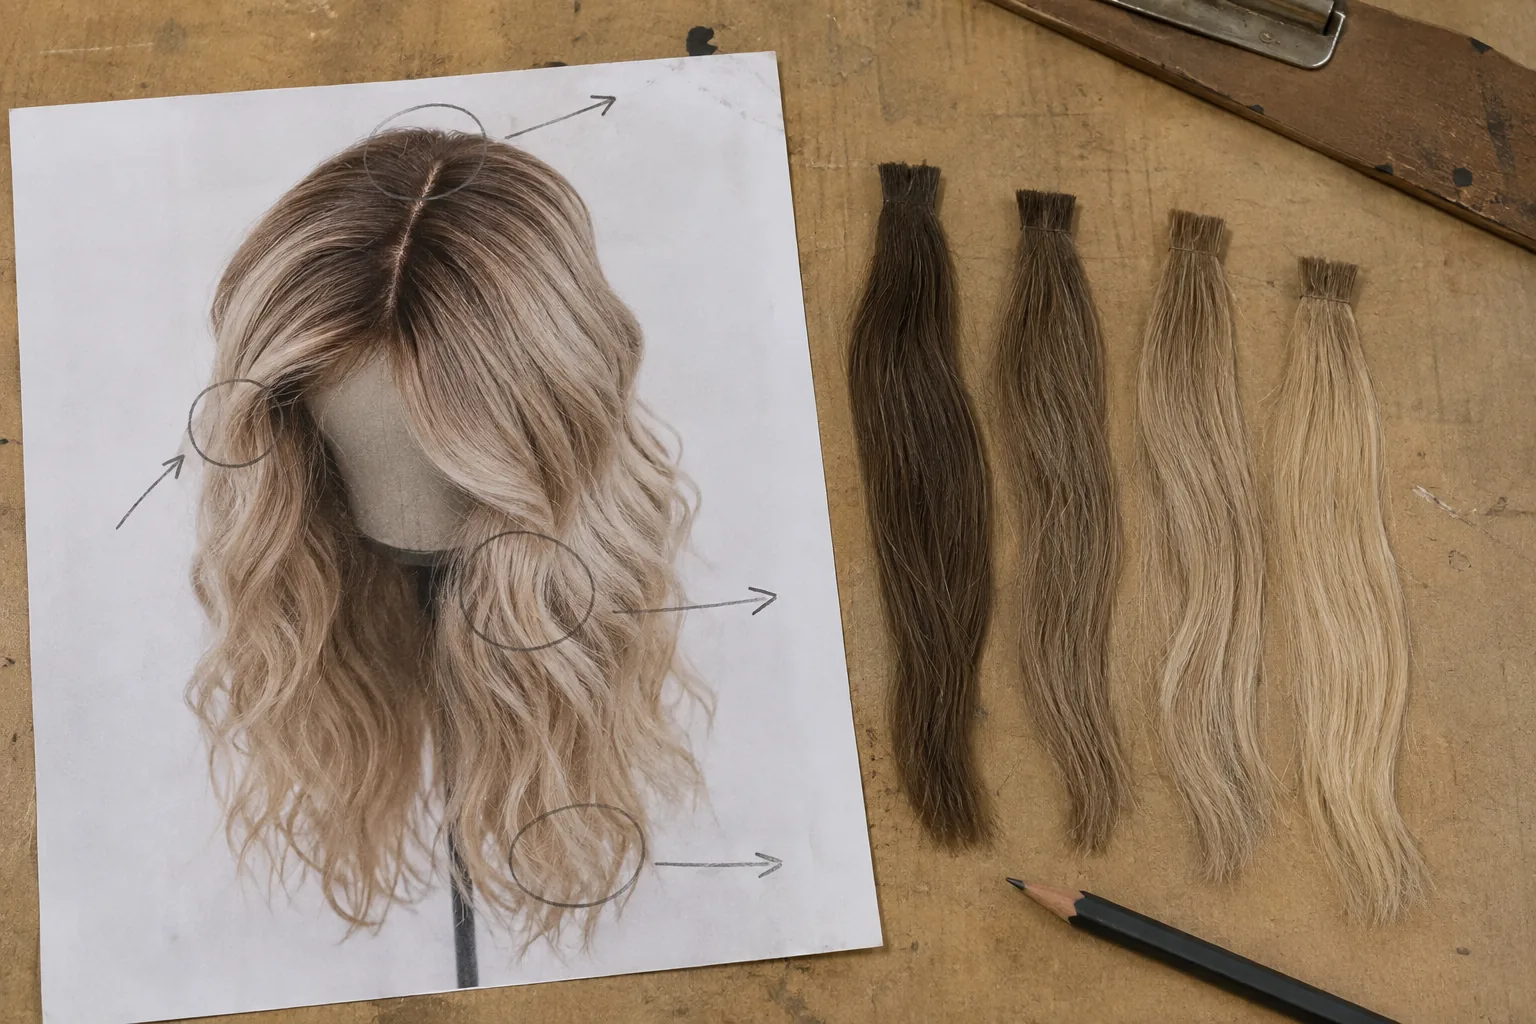
Color names are useful shorthand, but placement is what makes the unit recognizable. “Ash blonde balayage” still leaves open where the blonde begins, how much darker hair remains and whether the front is brighter than the back.
Use four zones when you mark a reference.
1. Root and parting
Write down how dark the root reads and how far that depth should extend. Check whether the parting has fine lighter pieces close to the root or stays mostly dark. If you mean a root melt or a shadow-root direction, describe the visible transition rather than relying on the label alone.
2. Face frame or money piece
The front can change the whole impression of the wig. Mark the width of the brighter section, where it starts and whether both sides should be balanced. “Bright money piece” is too loose for sampling. A buyer may mean two fine ribbons, a wide blonde panel or something in between.
3. Mid-length transition and ribbon placement
Look at how the lighter pieces travel through the unit. Are they fine or chunky? Closely spaced or separated by visible darker depth? Do they begin at different heights, as in many balayage directions, or form more repeated highlights? On an ombre-led brief, record where the overall gradient starts and how gradual it should be.
4. Ends and overall tone
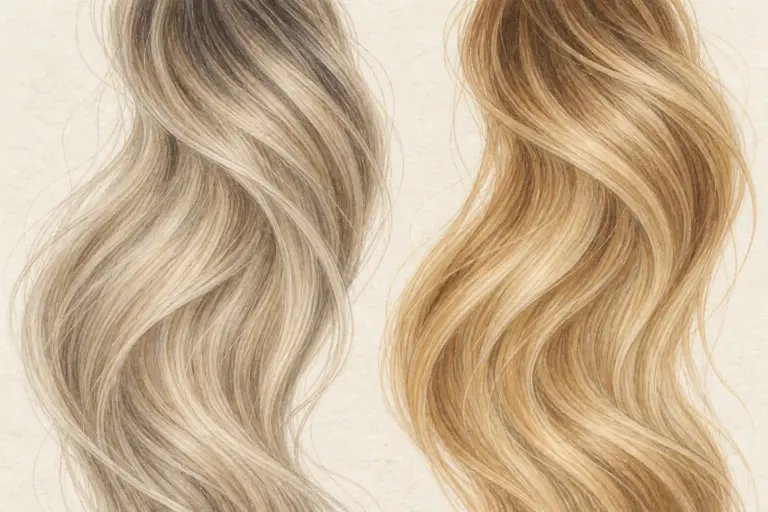
Decide how light the lower section should read and which tone family is closest: neutral beige, cool ash, honey, caramel or another direction. Keep “brightness” and “tone” separate. Two samples can have a similar lightness while one reads cool and the other warm. For a closer comparison, see ash blonde versus honey blonde balayage wigs.
Add what the photograph cannot tell the supplier
A color image contains no reliable information about the construction underneath it. It cannot confirm hair material, length, lace size, density, parting, texture, cap requirements, quantity, packaging or destination. For fullness, check what 180% density does and does not tell you alongside the sample.
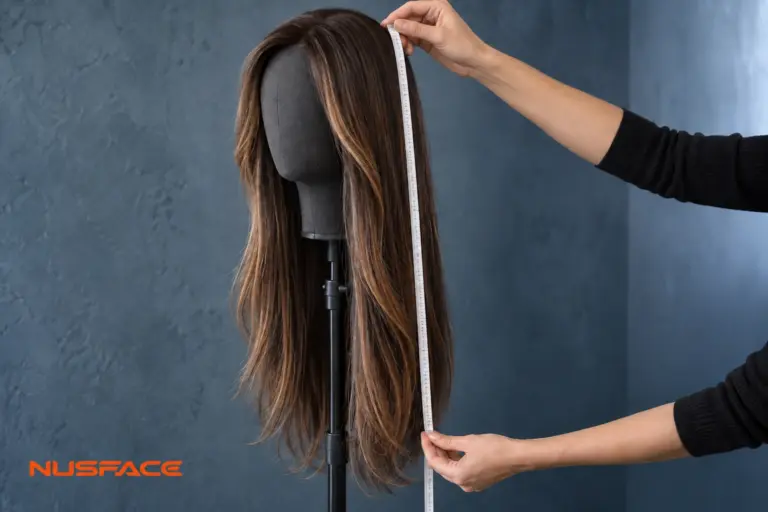
For the balayage range currently published on this site, NUSFACE lists Superior Raw Hair, 14, 16, 18, 20, 22, 24, 26 and 28-inch lengths, 5×5, 13×4 or 13×6 lace, 180% density, MOQ 1. Pricing is confirmed for each custom request. Those details describe the published balayage offer. They should not be copied automatically onto every highlight, ombre or other custom-wig request.
For a custom project, put the requested construction on its own lines. Non-standard options, availability, price and preparation time are confirmed by the business team against the written brief.
A custom wig color brief you can copy
The format below is deliberately plain. It is easier to price and compare than a mood board with no notes.
| Brief field | What to write |
|---|---|
| Buyer and sales channel | Salon, wig store, wholesaler or private label; intended market |
| Primary color direction | Balayage, highlights, ombre, rooted blonde or a combination |
| Reference set | Which photo controls the root, front placement, back and end tone |
| Root and parting | Desired depth, approximate reach and first transition |
| Face frame | Width, brightness, starting point and balance |
| Mid-length placement | Fine, medium or chunky ribbons; spacing; preserved darker depth |
| Ends | Target lightness and tone family |
| Unit construction | Hair material, length, texture, lace, density, cap and parting |
| Order context | Paid sample or reorder, quantity, packaging and destination |
| Approval evidence | Required photo angles, lighting set and written points to approve |
Here is the same brief in a copy-ready form:
- Buyer / market:
- Intended customer and sales channel:
- Primary direction:
- Reference A controls:
- Reference B controls:
- Root and parting:
- Face frame / money piece:
- Mid-length placement and transition:
- Ends and overall tone:
- Hair, length, texture, lace, density and cap:
- Paid sample or reorder; quantity:
- Packaging and destination:
- Photo views required for approval:
- Points that must not change:
The final line matters on a reorder. If the front width, root reach or amount of darker depth sold well, record it. “Same as last time” is fragile when the earlier approval lives only in a chat thread.
A screen is not a hair color standard
Do not promise an exact physical match from an ordinary phone or laptop display. Adobe’s color-management guidance explains why a digital image changes as it moves between cameras, monitors, profiles and output devices. A calibrated workflow improves consistency; it does not turn a screenshot into a physical swatch.
That leaves a practical rule: use the screen image to approve direction and placement, then use a physical paid sample and a repeatable photo set to approve the unit. If tone is especially sensitive, ask the supplier what additional reference is workable before production. Do not invent a universal color code when none has been agreed.
Move from brief to paid sample
The brief gives the supplier enough context to review feasibility and quote the request. The paid sample turns the written assumptions into something you can inspect.
Ask for a consistent approval set:
- front in ordinary daylight;
- top or parting close-up;
- left and right sides;
- back, with the ends visible;
- one indoor-light set if that is where the customer will usually see the wig.
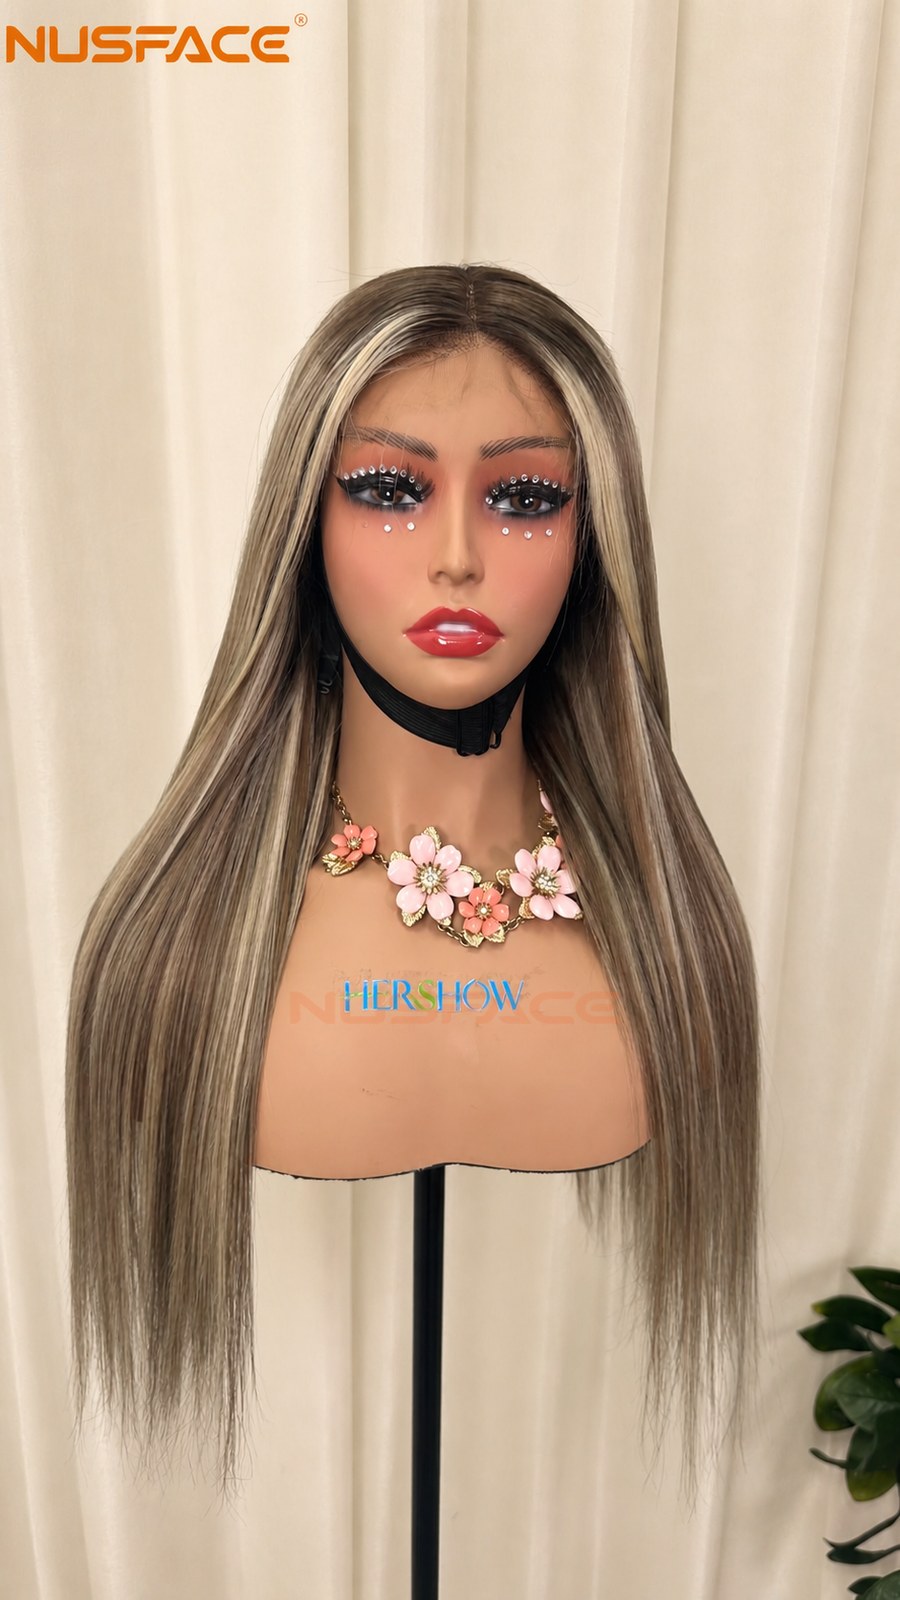
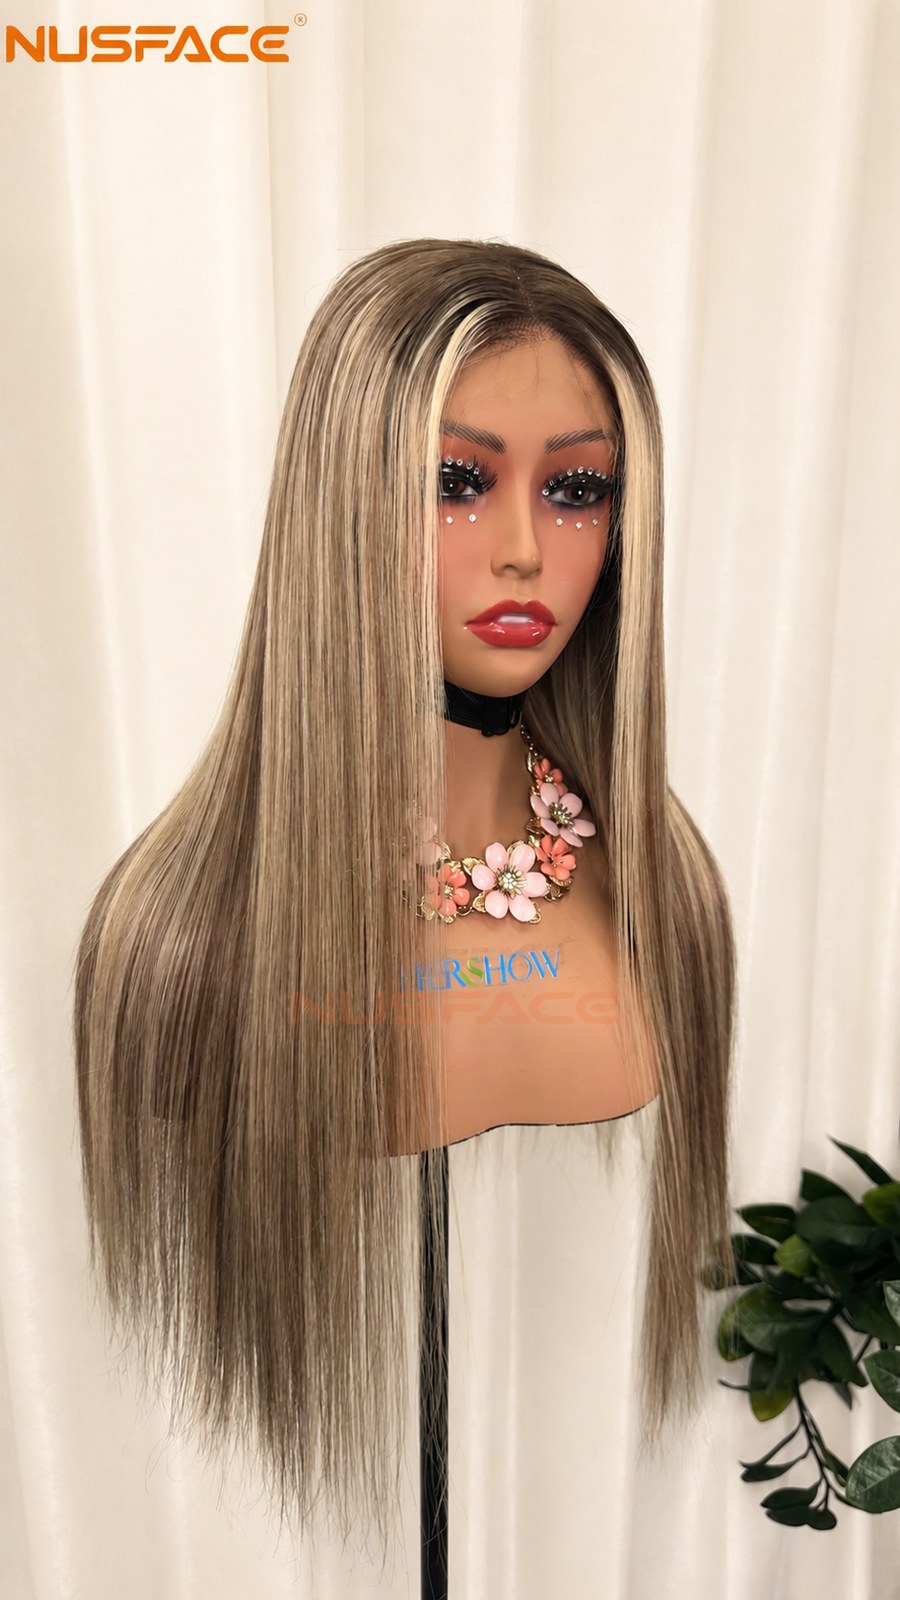
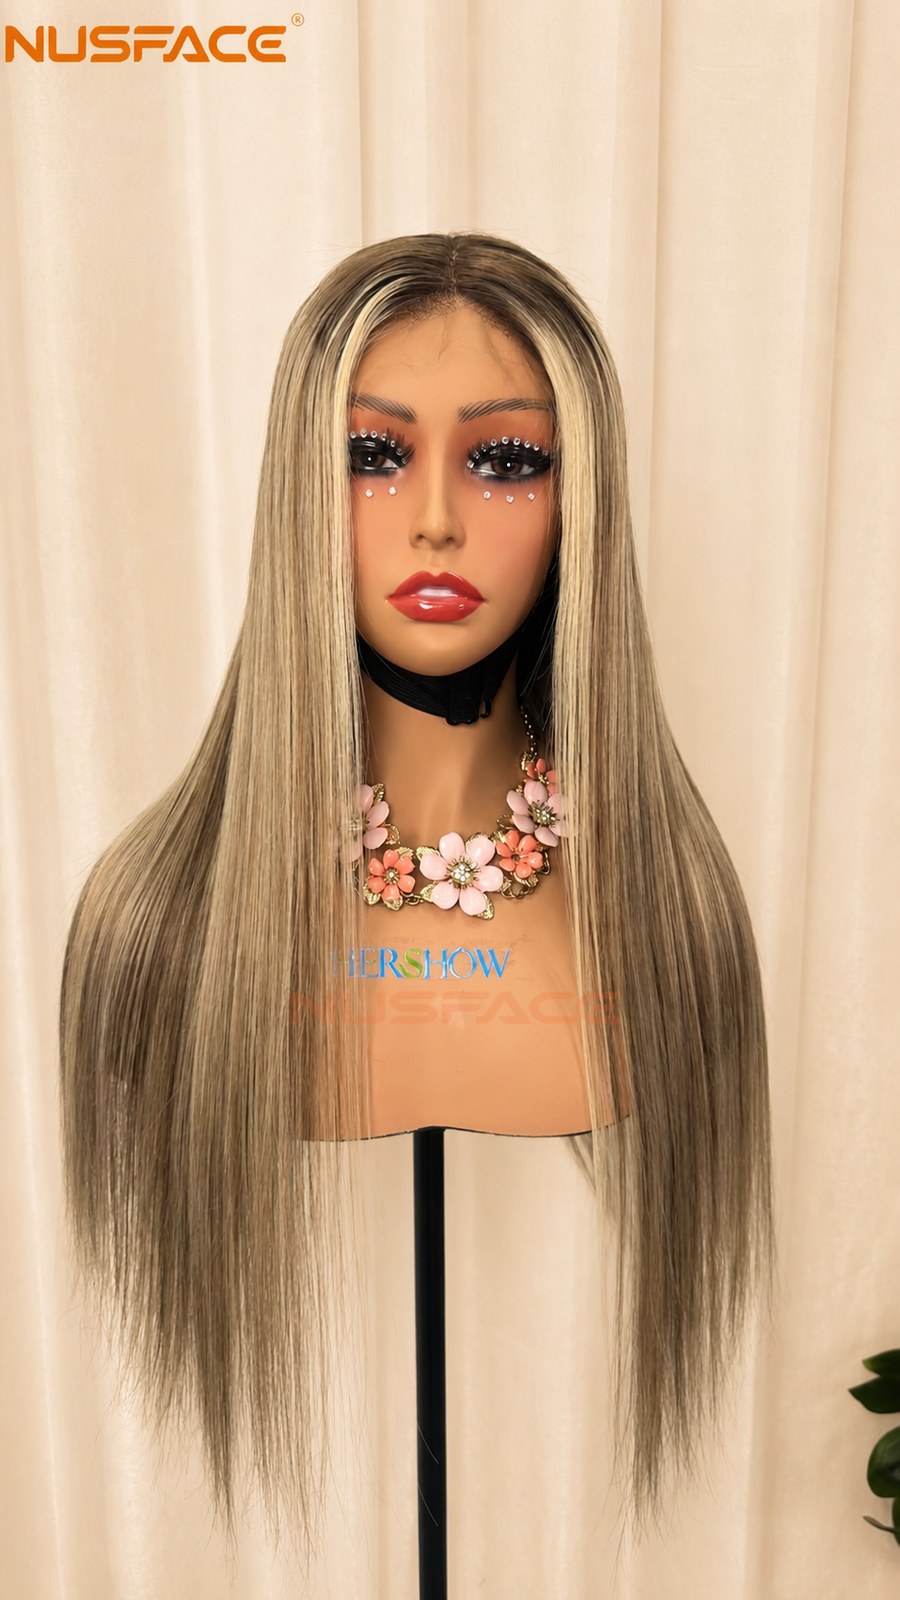
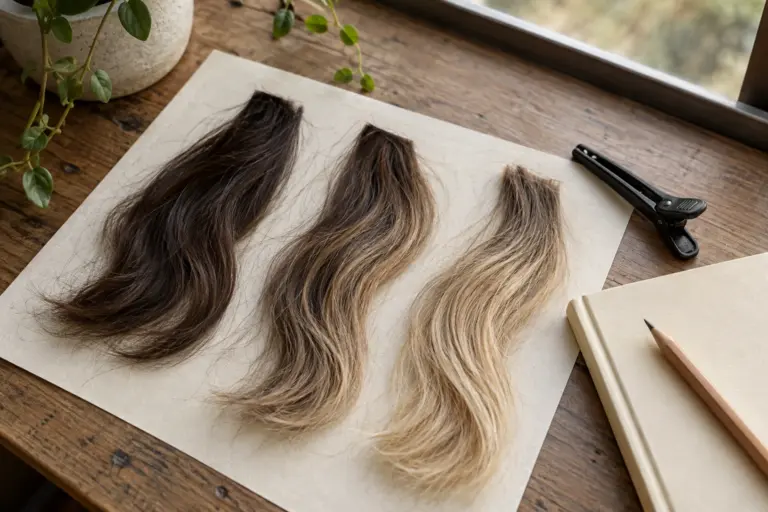
Check the four color zones separately. Then check the unit specifications against the written request. A strong front photograph cannot compensate for a back that is too flat, a root that runs too far, or a lace and construction choice that was never confirmed.
For the current NUSFACE balayage offer, MOQ 1 allows a buyer to start with one paid unit. After the brief and payment are confirmed, orders are usually prepared for dispatch in 3–7 days. A custom request outside the published configuration still needs written confirmation; do not assume the same scope or timing.
Our guide to checking a balayage wig sample gives a fuller inspection sequence. If the main uncertainty is the root, compare root melt and shadow root before you write the brief. Buyers deciding between color directions can also use balayage vs highlights vs ombre wigs.
Keep an approval record that can survive a reorder
Save the final brief, accepted sample photographs and supplier confirmation together. Record the date and distinguish the approved points from the items that may still vary. Hair color is visual; that makes a consistent record more valuable, not less.
A useful reorder record contains:
- the approved front, parting, side and back images;
- the exact unit construction ordered;
- the placement notes that mattered to the buyer;
- any accepted difference from the original reference;
- the packaging and destination used for the order.
This record gives both sides something concrete to compare. It also makes later revisions clearer. “Make the front slightly narrower than the approved sample” is actionable. “Make it look more natural” is open to interpretation.
Frequently asked buyer questions
Can a supplier copy a wig color exactly from one photo?
One photo can establish a direction, but it usually cannot control every view, physical tone and construction detail. Use several references, mark the priority zones and approve a paid sample before a larger order.
Should I send color codes with the photo?
Only if both sides have agreed what the code refers to. A screen picker, salon shade system and physical hair swatch are not interchangeable. The photograph, written placement notes and sample approval still matter.
What if my references show different wigs?
State which feature comes from each image. A workable request might use one photo for root depth, another for money-piece width and a third for the back transition. Ask the supplier to confirm the combined direction before sampling.
Is a front photo enough for a quote?
It may be enough to start a conversation, but it leaves the back, parting and side placement unclear. Add those views and the unit specifications if you want a quote that reflects the actual request.
Can I use this brief for highlights or ombre wigs?
Yes. Keep the same four-zone check, then describe the intended placement. For highlights, pay close attention to width, spacing and coverage. For ombre, record the gradient start, transition length and end tone.
Send a brief the team can review
Use Custom Service to send the reference set, four-zone color notes, unit construction and order context. NUSFACE can review the project and confirm the written brief, quotation and sample path. You can also start on WhatsApp.
Sources reviewed for this guide
- L’Oréal Paris: Balayage Highlights — freehand painting on selected strands and strategic placement of lighter sections.
- Adobe: Color management in Lightroom Classic — how devices, profiles and display conditions affect digital color.
YOUR NEXT STEP
Get a quote for your color brief.
Send the reference, length, lace, density and quantity. Our team will confirm the details for your custom order.