To measure wig length, first check where the brand starts its measurement. A common method measures from the crown to the longest ends, with wavy or curly hair gently extended. That measurement can be longer than the distance the styled hair hangs down. A 24-inch wavy wig can therefore look shorter than a 24-inch straight wig without the length label being wrong.
For a salon or online seller, both details matter: the measured length identifies the specification; the styled view helps a customer judge the look. Keeping them together prevents a photograph from promising a length it cannot establish on its own.
In this article
Check what the length label measures
“24 inches” needs a starting point and a hair condition to be useful. In a crown-to-tip measurement, the tape starts at the crown and follows the longest section, with waves or curls gently extended. Starting at the front hairline measures a different distance, so the two readings are not directly comparable.
For a layered cut, one overall number cannot describe every section. The bangs, sides and nape can finish at different lengths. If the front shape matters to the finished style, specify it separately rather than assuming every section will reach the longest back length.
Before comparing two listings, establish whether each number describes crown-to-tip length, a particular section or the finished style. For a custom order, confirm the measurement convention on the specification. The steps below describe the crown-to-tip method; they are not a substitute for a supplier’s agreed method.
How to take a useful crown-to-tip measurement
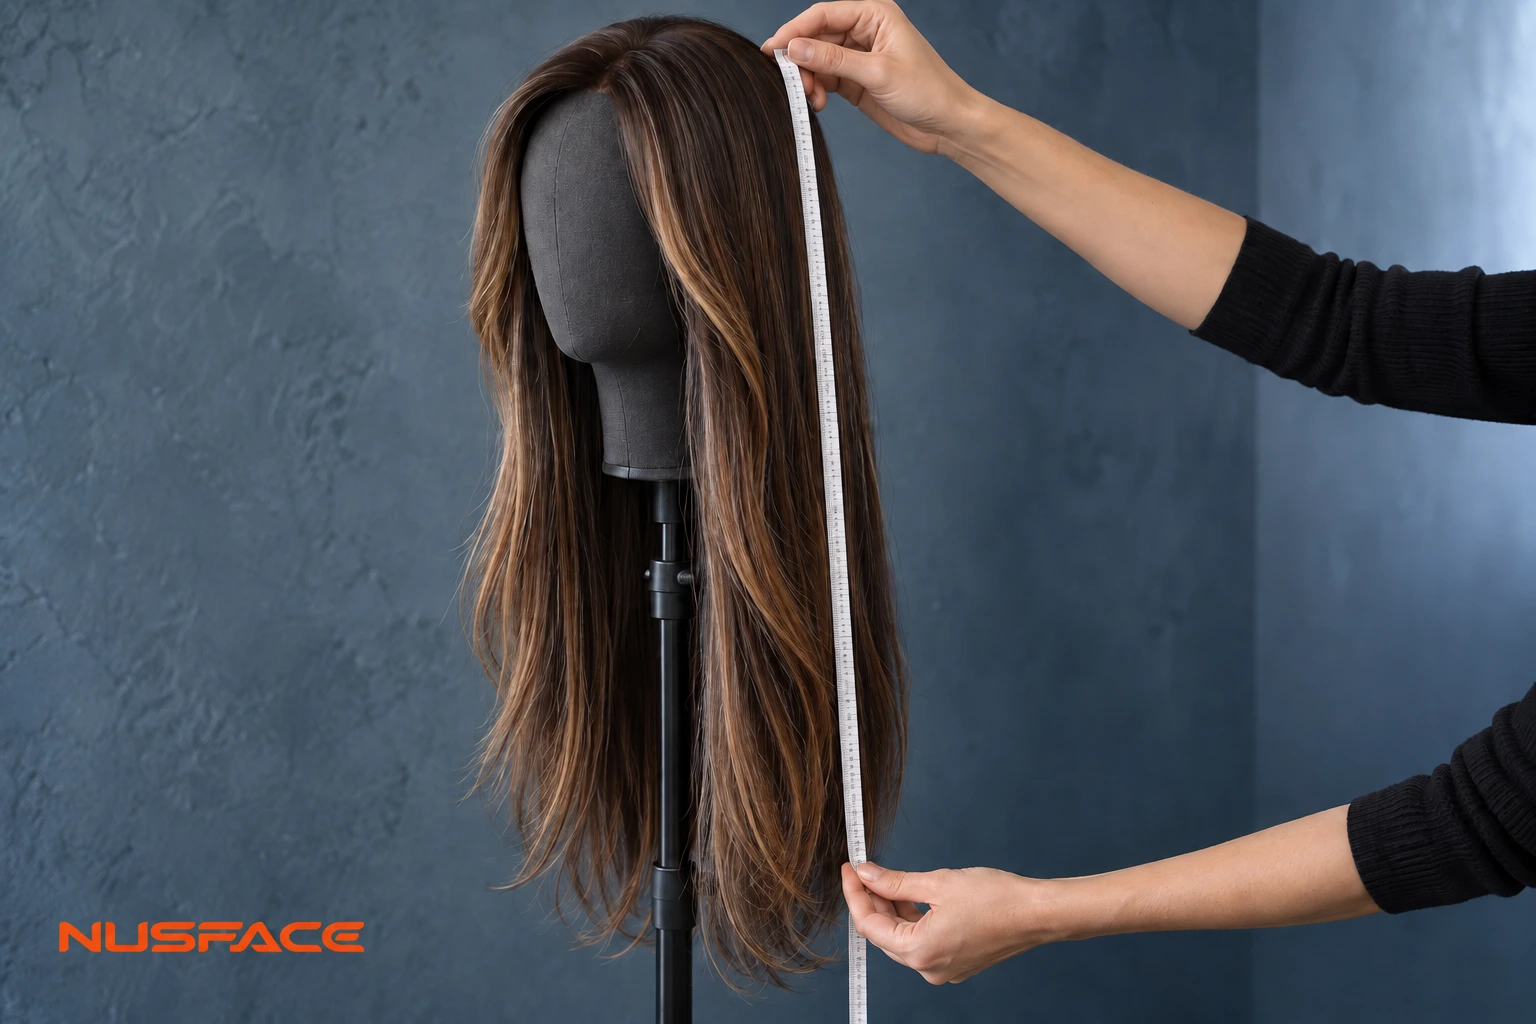
Use a flexible measuring tape and a stable wig stand. Avoid taking the reading while holding the cap in one hand and pulling the ends with the other: it is harder to keep the starting point and the hair position consistent.
- Position the wig. Place it securely on the stand, with the crown accessible. Gently remove tangles before measuring; pulling through a knot makes the reading difficult and can damage the hair.
- Set the start. Put the tape at the crown, following the convention you are checking. Do not switch to the lace edge because it is easier to reach.
- Check the longest section. Bring the relevant section into a straight line beside the tape. For waves or curls, extend it gently without tugging at the cap. There is no need to use heat simply to obtain a reading.
- Record the measurement and its context. Take a photograph showing the tape’s starting point and the ends. Note whether the hair was straight, styled or gently extended. A close-up of the tape at the ends alone does not show where the measurement began.
If the result differs from the label, repeat the reading using the agreed method before drawing a conclusion. Also check whether the wig has been trimmed since the original length was recorded. For broader inspection, use the balayage wig sample checks alongside the measurement.
Why waves, layers and styling change the apparent length
Straight hair takes a more direct path down from the head. Waves bend along that path, so the ends sit higher while the hair retains length within each curve. There is no dependable rule that every wavy wig will look exactly two inches shorter: the wave shape and the way it has been styled change the result.
Layers create a different issue. The longest section may reach the stated measurement while the face-framing pieces finish much higher. A front photograph can emphasise those shorter pieces, especially when the longer hair is behind the shoulders.
Length also does not tell you how full the ends will look. Two pieces can have similar longest-point measurements but different outlines. If the concern is thin-looking ends rather than where they finish, the guide to 180% wig density explains why a density percentage alone does not settle that question.
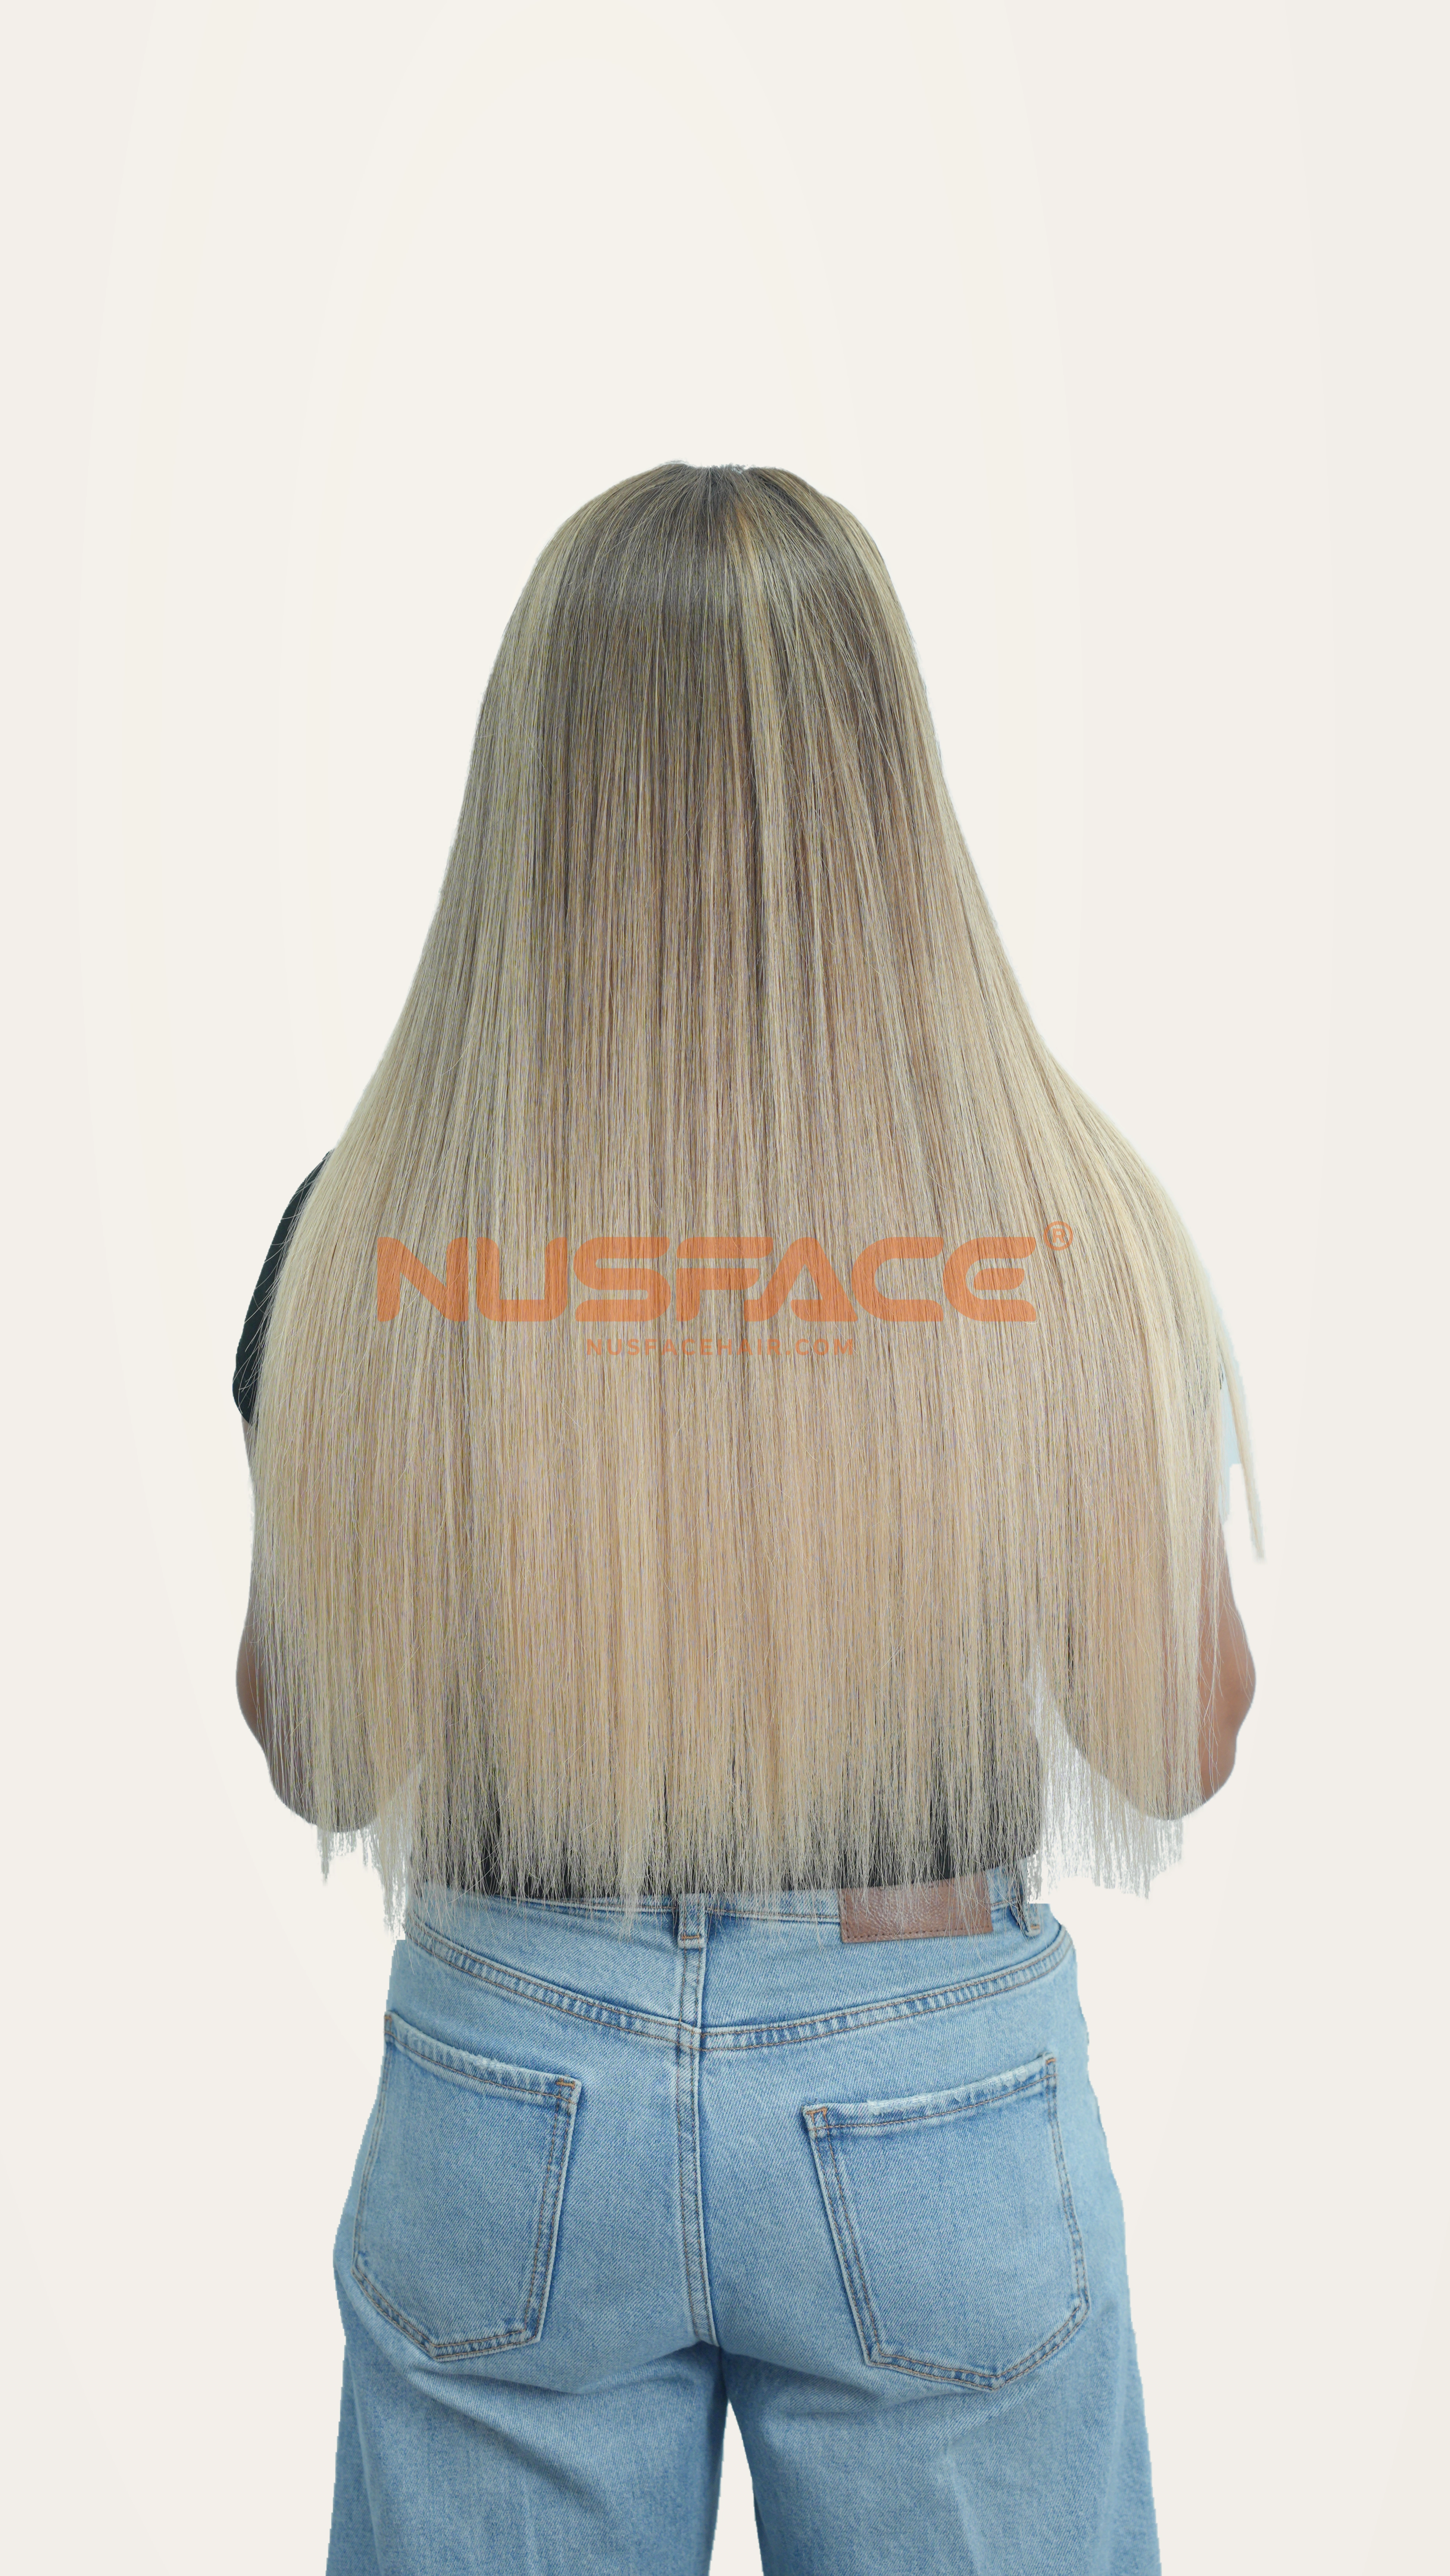
A 24-inch straight reference: Ivory Magnolia
The NUSFACE Ivory Magnolia reference was photographed in a 24-inch configuration with 5 × 5 HD lace. The model is 165 cm tall. These are the specifications of the photographed piece, rather than a requirement for every custom version of this color.
The back view shows the straight outline and the ends together. It is a useful reference for the overall fall, while a front view would give a different impression if shorter face-framing sections were brought forward.
The model’s height adds context, but it does not turn the photograph into a universal body-position chart. Neck length, torso proportions and how the wig is worn can change where the same nominal length appears to finish on another person.
 View larger image
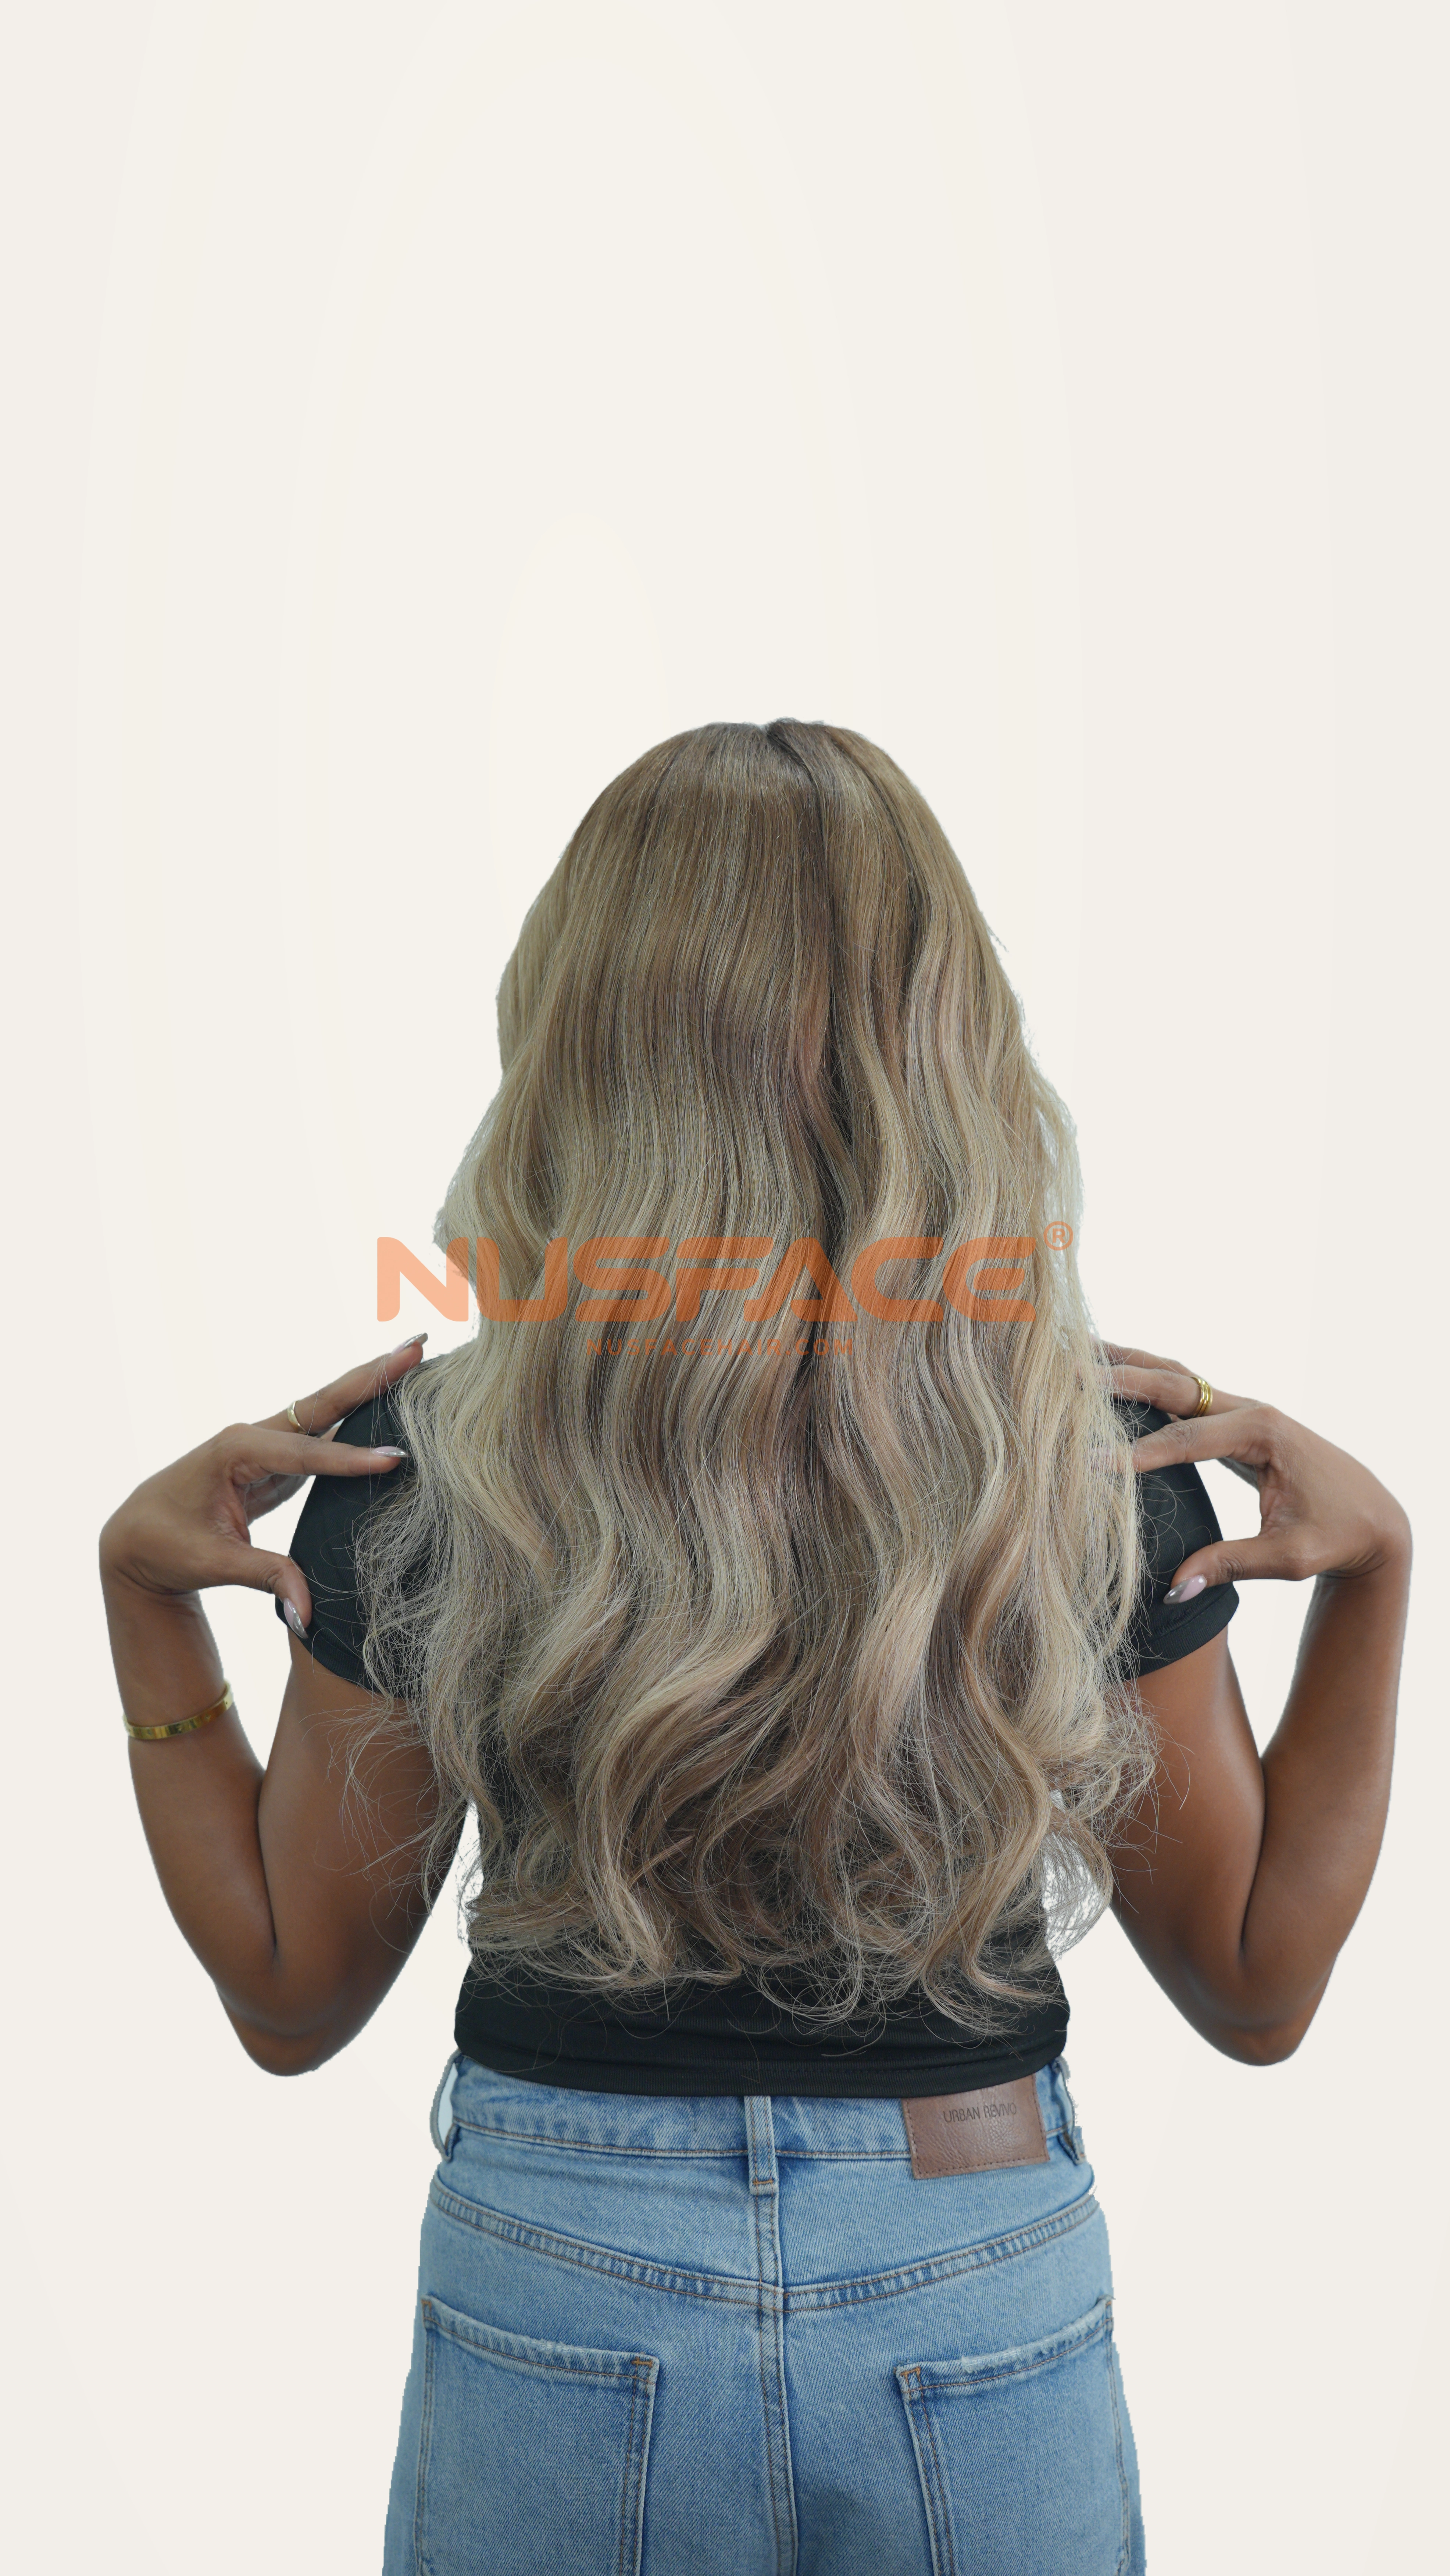
A 24-inch wavy reference: Toffee Rose
The photographed Toffee Rose piece is also 24 inches, with 13 × 6 HD lace, on the same 165 cm model. It offers a wavy reference at the same nominal length as Ivory Magnolia.
Compare the path of the hair and the placement of the ends, rather than treating the two photographs as a controlled test. They show different wigs and styling, with different lace configurations; they do not establish a precise amount of length lost to waves.
For a closer comparison, request a measurement view and a styled view of the same sample. That answers two separate questions: how its length was recorded, and how the finished piece falls when the wave is left in place.
 View larger image
Choose the finished look before agreeing to a trim
A reference photograph is useful when someone wants hair to finish at a particular point, but the instruction should say whether that means worn straight or styled in waves. Mark the intended endpoint on the reference and keep the whole head and upper body visible. The reference-photo guide also covers the color details worth preserving when using an image for customization.
Discuss layers and trimming at the same time. “Keep the longest back length” and “make the front pieces reach the same point” describe different cuts. An agreed inch measurement will not resolve that difference by itself.
NUSFACE can discuss length, cutting and styling requirements as part of a custom order, with the scope and cost confirmed in the quotation. Send the target look and explain how the finished wig will be worn through our custom service. For your own product listing, retain both the measured specification and an uncropped styled view, so buyers can judge the result without guessing from an inch number alone.